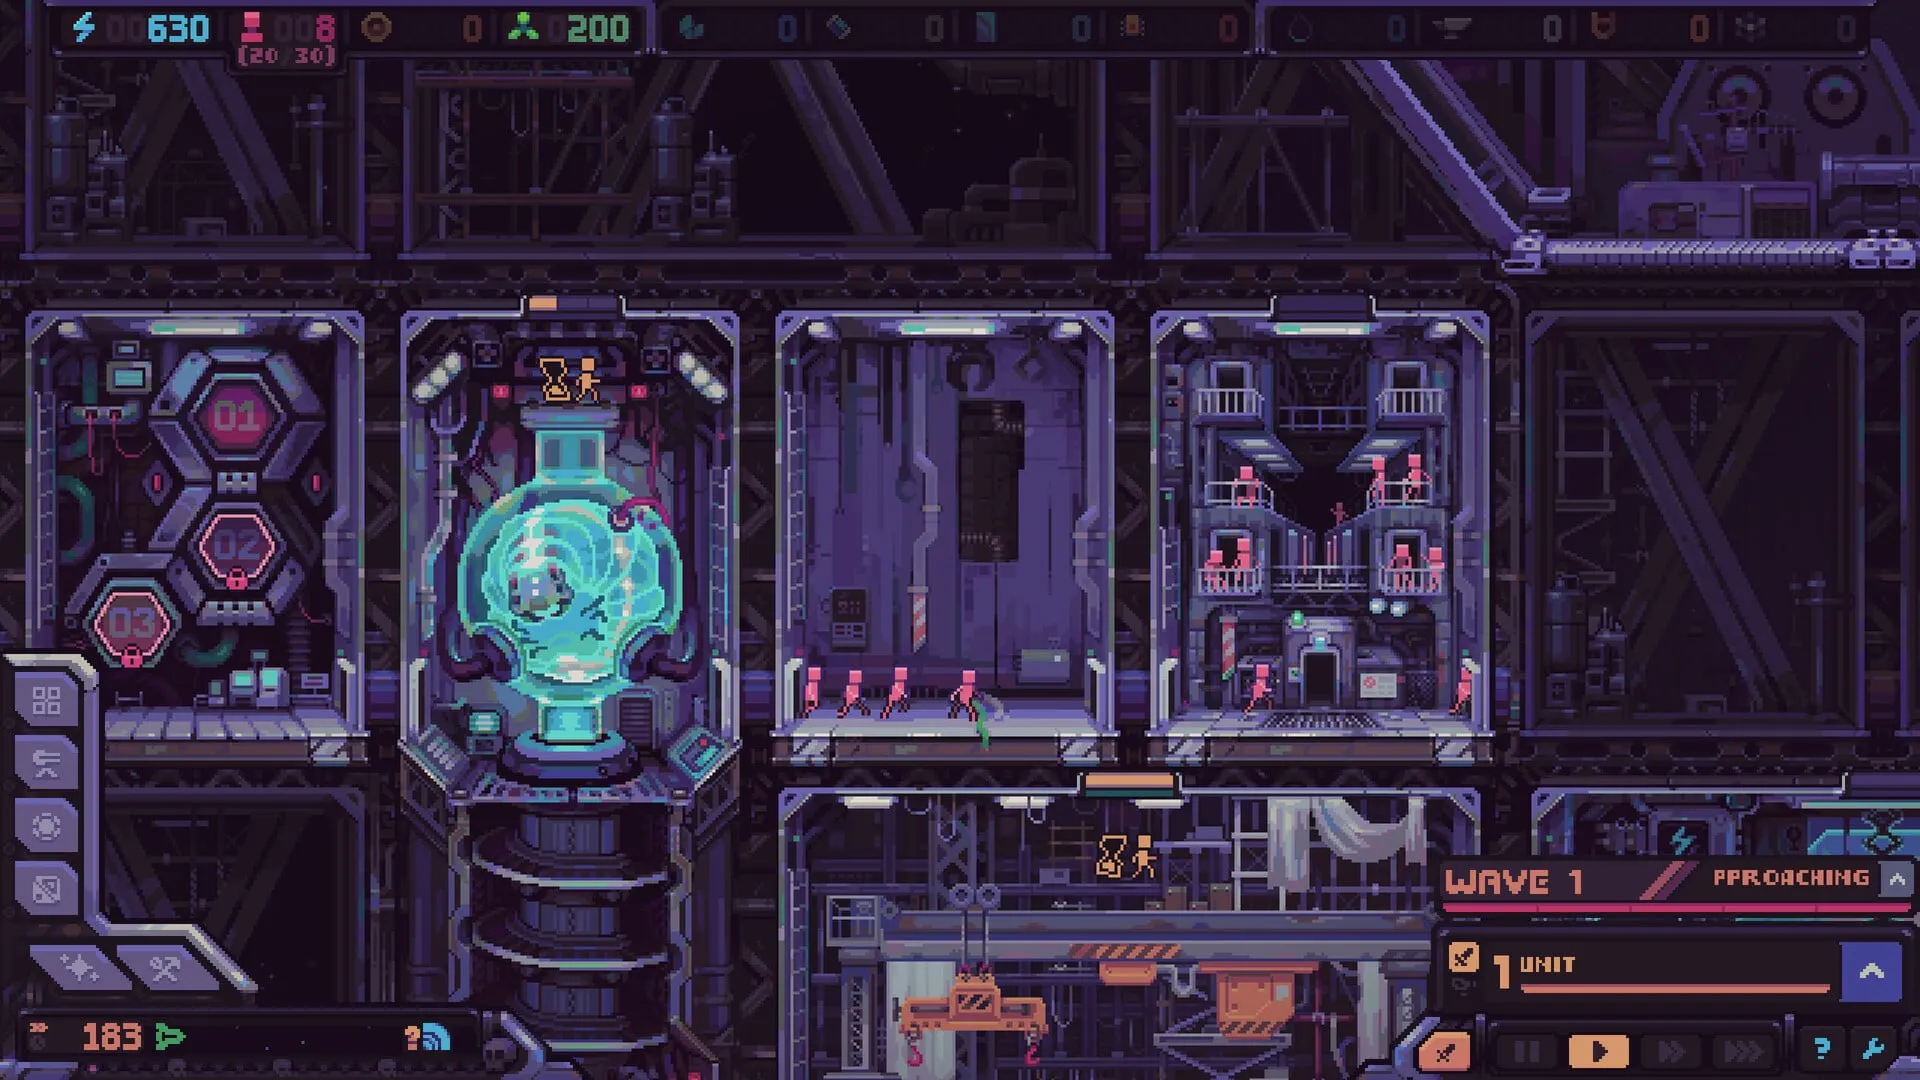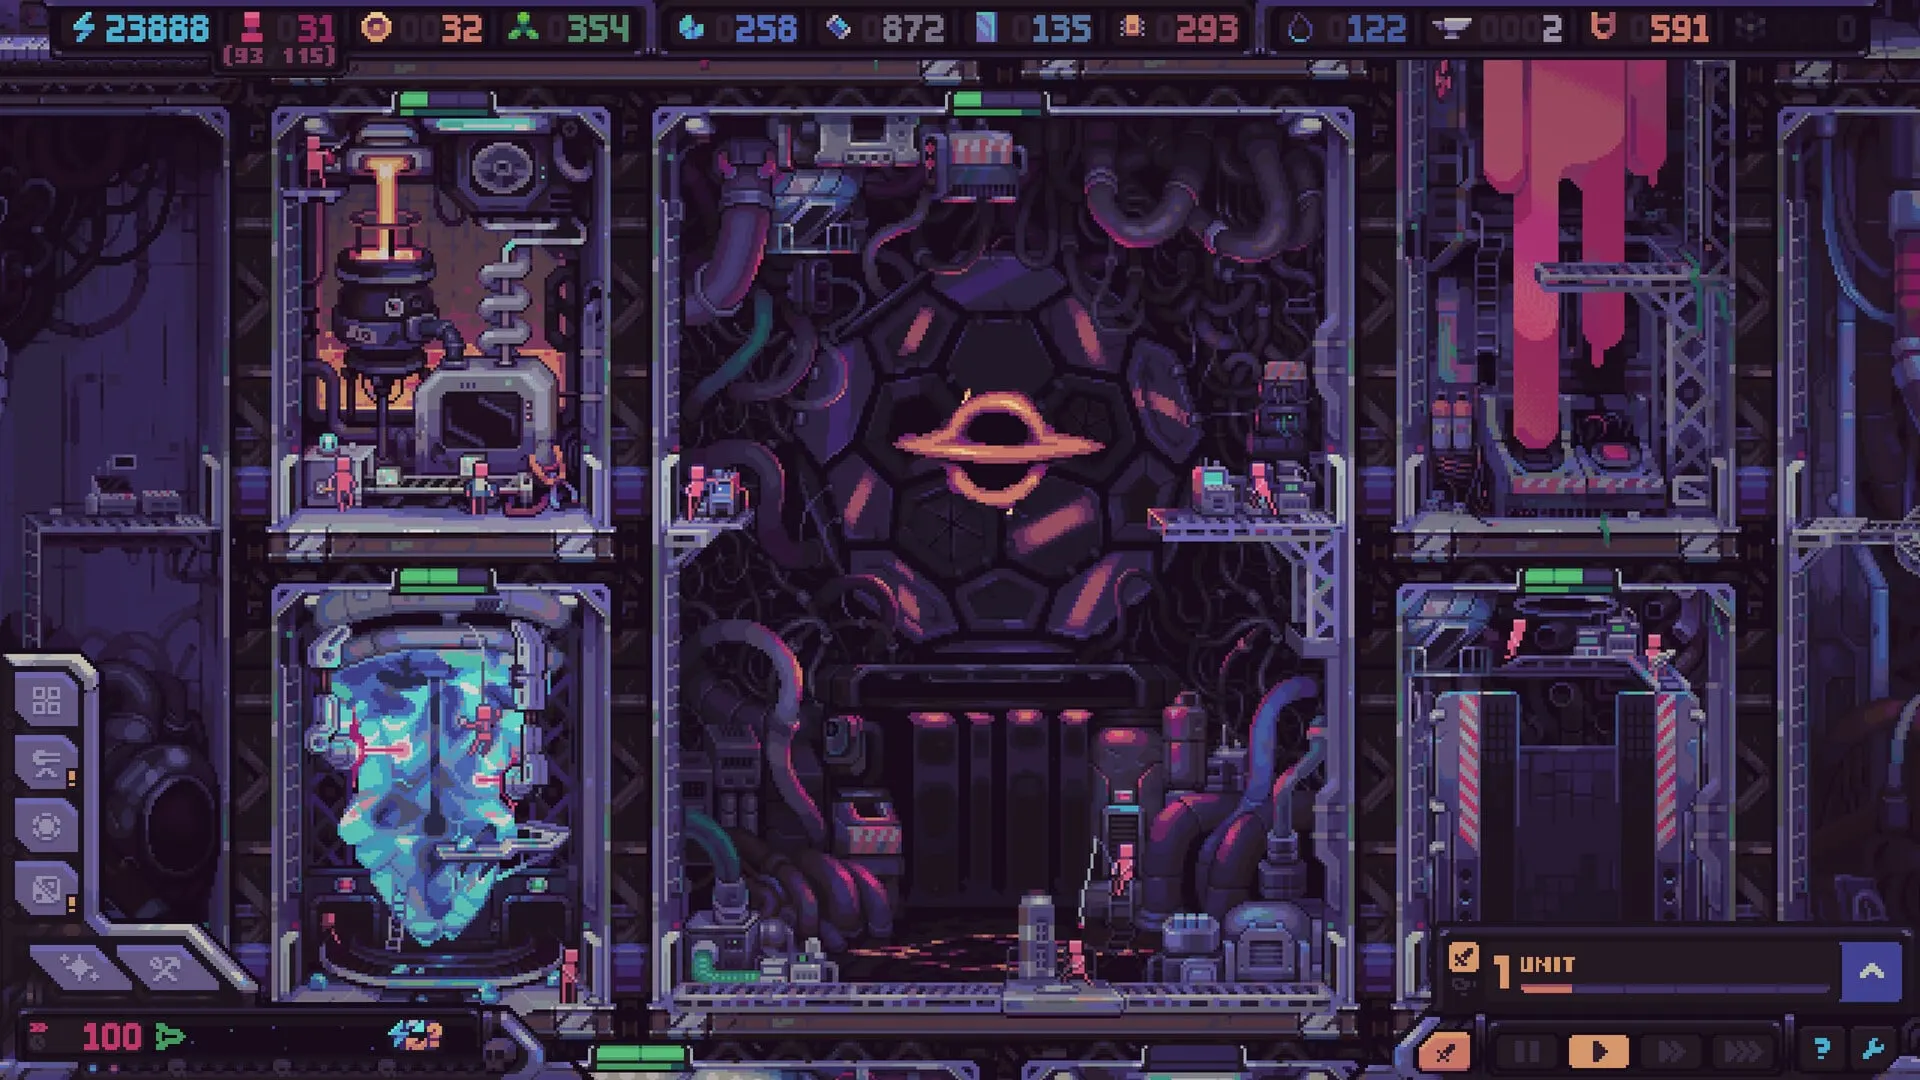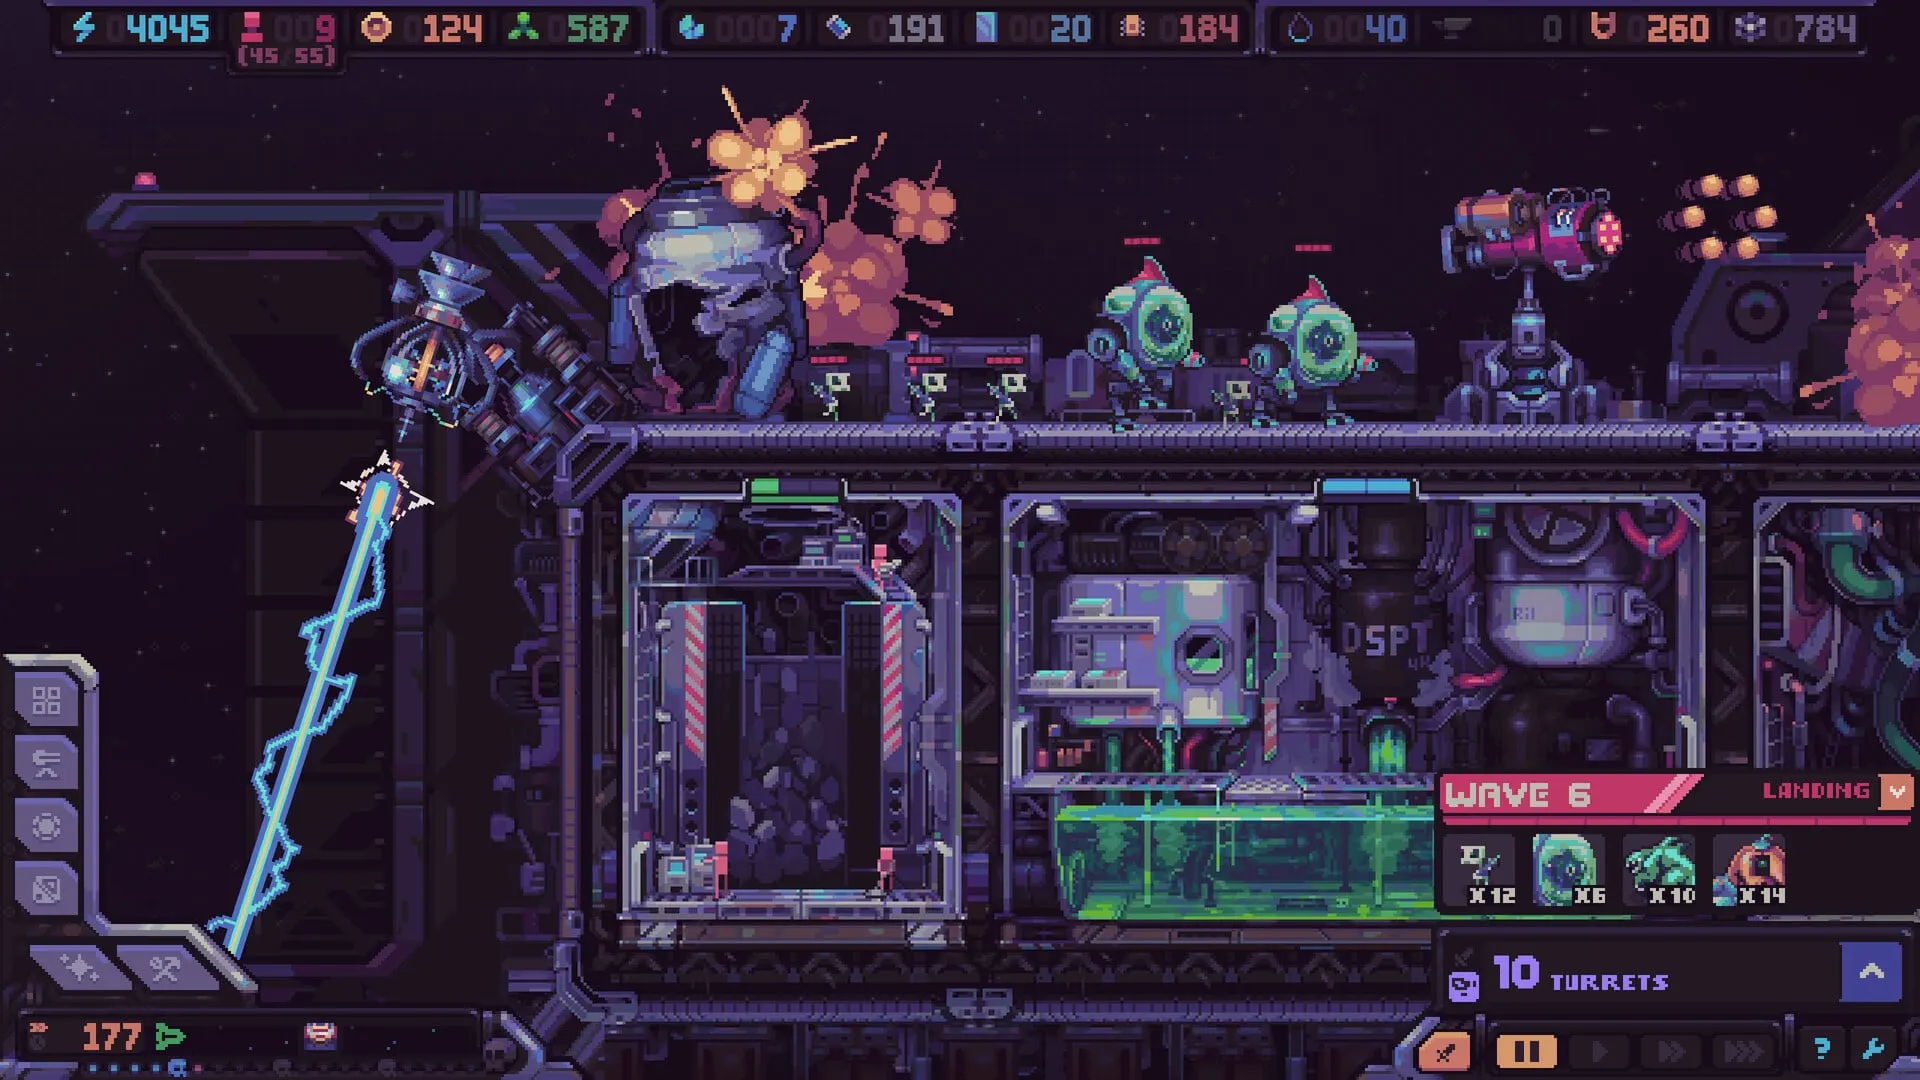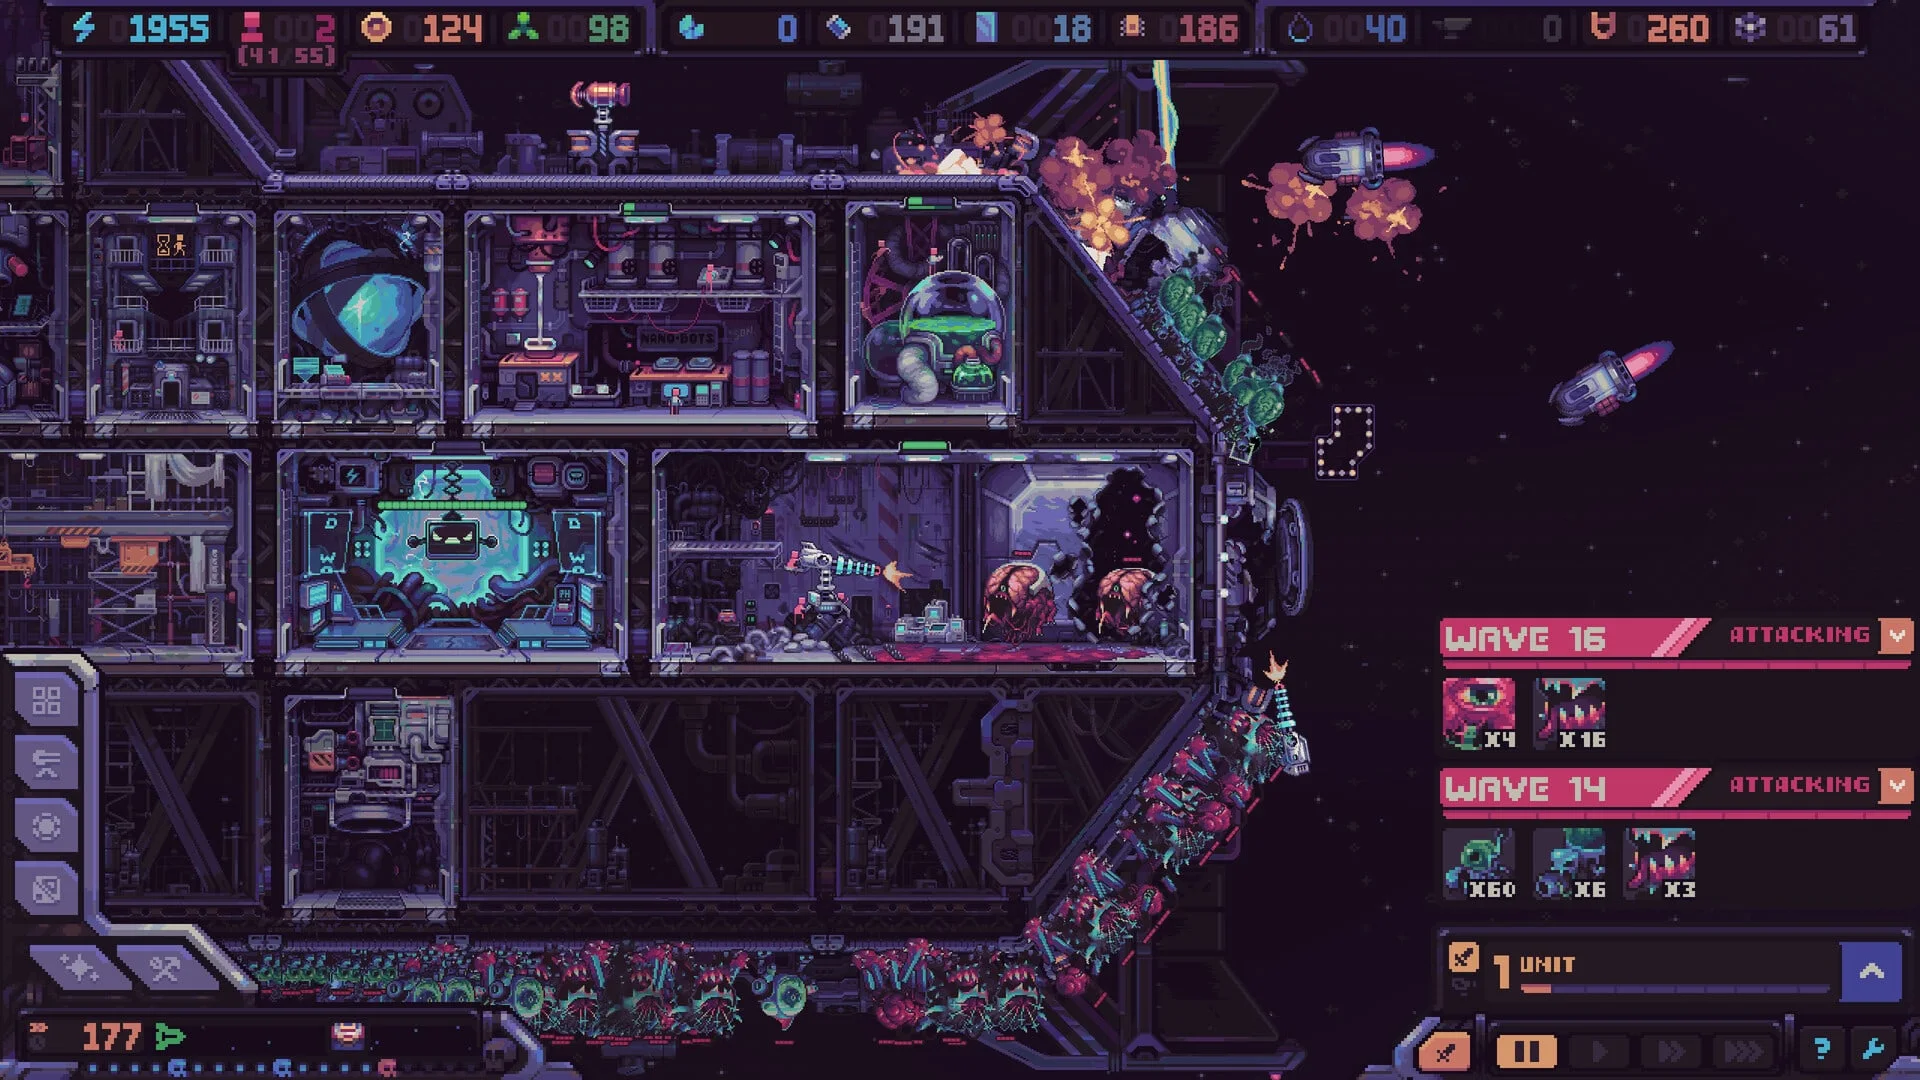
Hull Rupture rewards preparation and punishes tidiness. These Hull Rupture tips focus on the decisions that compound: how you read income, when you expand, what you buy, and where you let the aliens walk.
Economy tips: stop the leak before adding water
1. Read Info Mode before every purchase
Info Mode shows current stock and per-minute income. The stock tells you what you have; the rate tells you what is about to happen. A large reserve with a negative trend is a countdown. A small reserve with a healthy positive rate is fine. Before buying a module, check whether the inputs it needs are rising or falling. This one habit prevents more dead modules than any tier list.
2. Fix the upstream constraint first
If microchip production is stalled, the answer is usually minerals, workers or power — not another microchip module. Trace the chain backward until you find the first room that is waiting. Build there. Adding downstream capacity to a broken chain only increases the number of rooms doing nothing.
3. Never let human storage cap
Reproducer output is wasted when storage is full. If the cap is approaching, build or upgrade Human Storage, or spend workers on a converter. Capped population is invisible waste: the Reproducer keeps running, the number stops moving, and your economy quietly loses its cheapest resource.
4. Treat tokens as flexibility, not score
Tokens buy options. Hoarding them through a wave you barely survived is not discipline; it is a bet that the next shop will be better while your ship is on fire. Spend to solve the immediate problem, then rebuild the reserve. The best shop purchase is the one that makes the next wave boring.
5. Automate chores, not judgment
The Bioreactor’s Auto control keeps a two-human queue running, which removes repetitive clicking. It does not decide whether those humans are worth more as fuel or as workers. Automate the routine, keep the judgment. If your workforce is shrinking, turn automation off before it quietly eats your repair crew.
The 10-second audit
Before every wave: scan the top bar for a resource at zero or falling, check that the last module you built is actually staffed, and confirm no turret is mid-move. Ten seconds, three failure modes prevented.
Hull and production tips: space is a weapon
6. Expand for a kit, not for hope
A hull block is permanent. Placing one “because it is offered” adds mass, costs resources and may create a slot you cannot fill. Expand when you have a kit that needs the space, when the shape creates a better turret angle, or when the route control is worth the cost. Otherwise, skip — even though skipping also costs resources.
7. Build the first module before the empty slot
New slots only become constructible next to a completed module. Plan chains outward from your existing production core. If a slot is locked, look for an adjacent unfinished module or a hull block that is not actually connected. The adjacency rule is the most common reason a “missing” build option is unavailable.
8. Use stilts to make a corridor, not a shortcut
A hull block placed slightly away from the ship stands on stilts and leaves a gap aliens can walk through. That gap is a feature: it extends the route and keeps enemies under fire. It is also a liability if your turrets cannot cover the corridor. Build the path only when the kill zone already exists.
9. Keep the factory compact, the approaches long
These are two different geometries. Compact module clusters improve adjacency bonuses and shorten worker travel. Long, winding outer routes improve defensive depth. The ideal ship often has a tight production core and a deliberately awkward exterior. Do not force one shape to do both jobs.
10. Staff the Despot’s Chamber when hands are spare
The Chamber produces free random kits, faster with more humans. It is a slow, free supplement to the shop — not an emergency supplier. Staff it after production is stable and before you spend tokens on a box you might not need. Think of it as a second income stream that pays in options.
Defense tips: make the breach expensive
11. Build layers, not a wall
A single powerful turret can be bypassed by a different landing zone. A layered kill zone slows enemies at the edge, damages them through the corridor, and catches survivors at the Airlock. Use traps and barricades to extend time in fire, not to replace damage. The goal is overlap, not a higher number in one slot.
12. Match range to geometry
Long-range turrets want open corners, straight hull sections and boss lanes. Short-range turrets want enclosed gaps and corridors where enemies cannot spread out. Putting a short-range gun on an exposed corner wastes its damage; putting a long-range gun in a tight tunnel wastes its range. Look at the lane before the stat sheet.
13. Move turrets instead of demolishing them
Moving is free but slow, with downtime after relocation. Demolition refunds construction resources but destroys the kit. If a turret is merely in the wrong place, move it. If it is the wrong turret entirely, demolish only when the replacement kit is already in hand.
14. Put debuffs to work
Raw damage alone struggles as waves scale. Slows, Fragility, poison and other debuffs multiply the value of every turret behind them. A Beam turret with Fragility support can turn a mediocre defense into a boss killer. Check your artifacts and modifiers before investing in another damage turret — the missing multiplier may already be on the ship.
15. Prepare the boss lane before wave 20
Bosses land at the far upper-left of the ship, furthest from the Airlock. That is a known approach, not a surprise. Build a dedicated kill zone along it in the late teens, and make sure no turret is mid-relocation when the boss lands. The final fight rewards preparation more than improvisation.
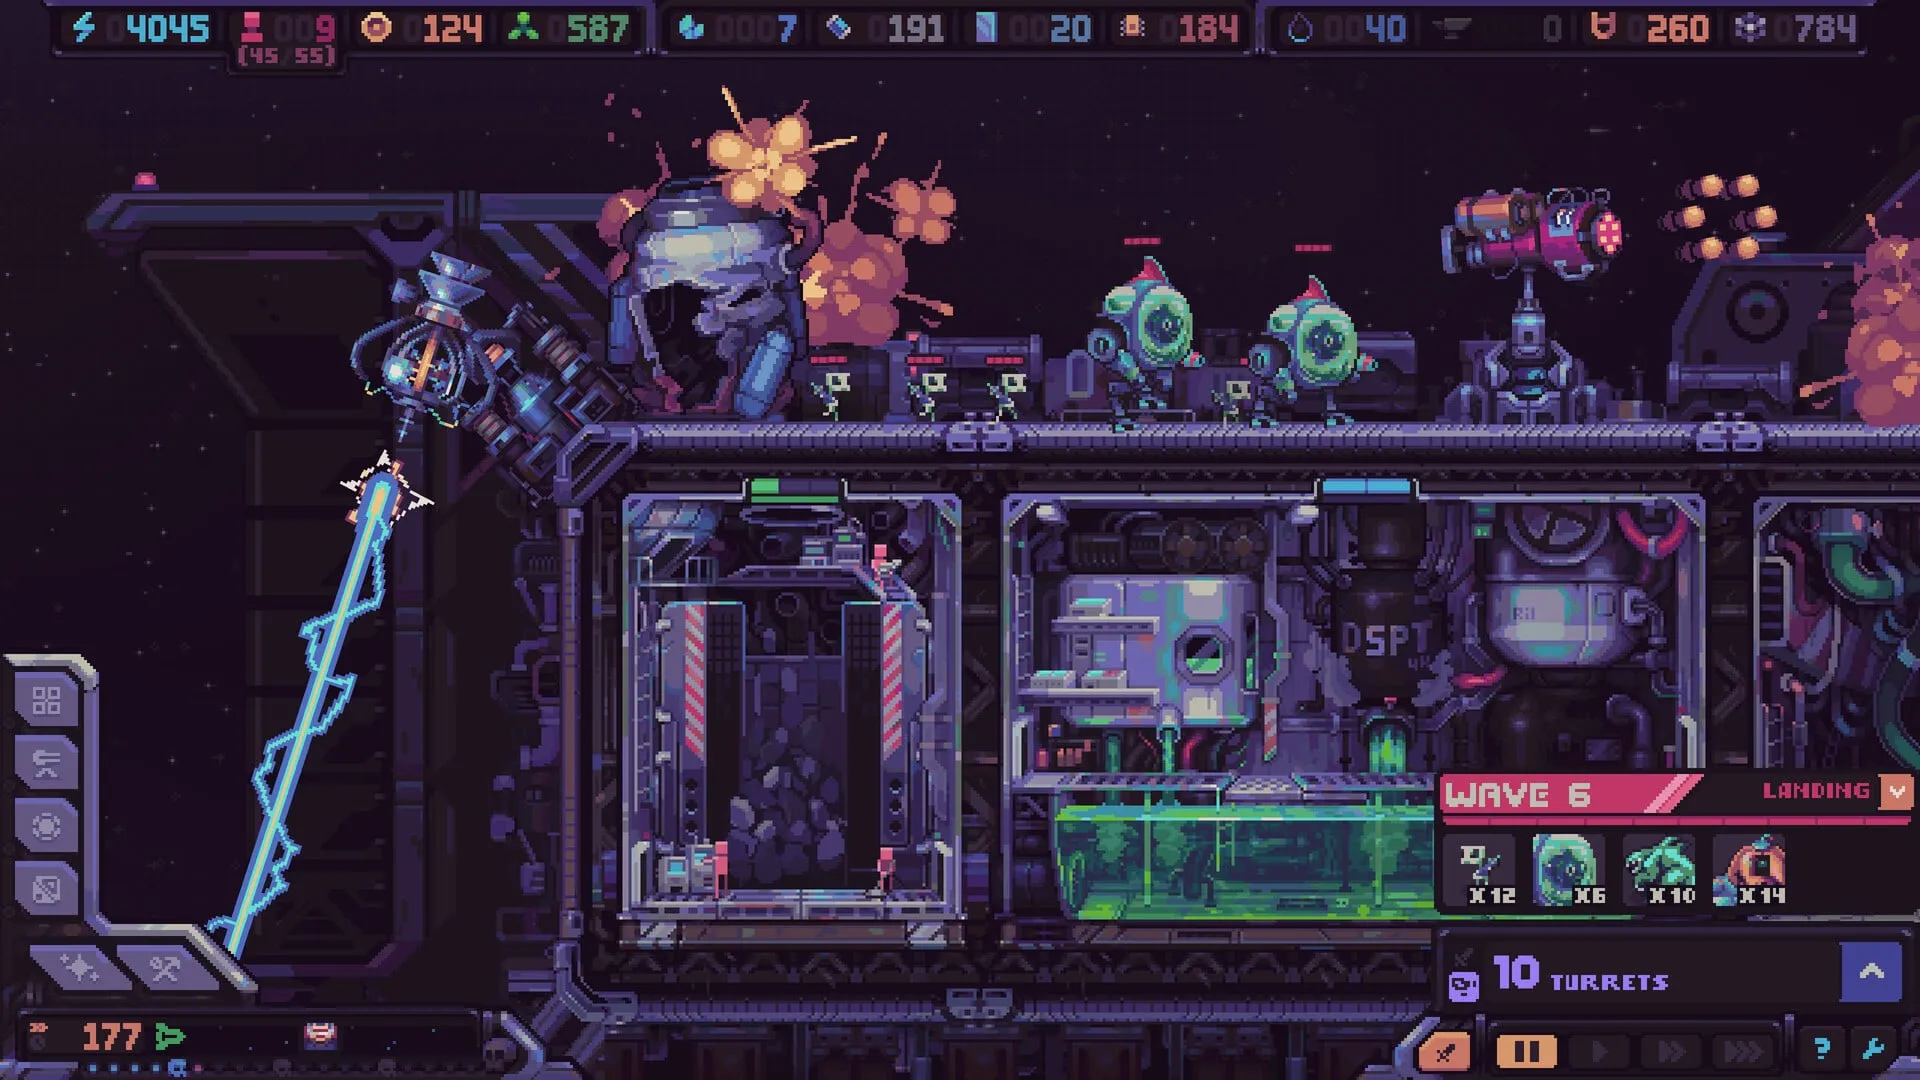
Is there a best build in Hull Rupture?
There is no fixed Hull Rupture best build, because the shop is randomized and the map decides which modifiers you can even be offered. A rigid “build this first” list breaks the moment the boxes refuse to cooperate. The stable answer is a priority order: secure energy and humans, build the minimum defense that survives the next wave, add fuel and storage, then expand only for kits you actually own.
Within that order, strong builds share three traits. They have a compact production core with good adjacency, a layered kill zone that covers both hull approaches, and a route plan that feeds the next upgrade rather than starving it. The specific modules matter less than whether those three jobs are covered. If you want a starting template, follow the first-run walkthrough and adapt the shop decisions to the boxes you receive.
Quick reference: the 15 tips in one table
| # | Tip | Why it matters |
|---|---|---|
| 01 | Read Info Mode | Stock without trend is a false comfort. |
| 02 | Fix upstream first | Downstream capacity does not feed a starving chain. |
| 03 | Watch the human cap | Capped Reproducer output is silent waste. |
| 04 | Spend tokens | Flexibility unused is flexibility lost. |
| 05 | Automate chores | Save clicks, keep the judgment. |
| 06 | Expand for a kit | Permanent mass needs a purpose. |
| 07 | Build adjacent | Slots unlock next to completed modules. |
| 08 | Use stilts deliberately | A corridor can be a kill zone or a shortcut. |
| 09 | Compact core, long edge | Efficiency inside, defense outside. |
| 10 | Staff the Chamber | Free kits compound if the economy can spare hands. |
| 11 | Layer defenses | Overlap beats one strong slot. |
| 12 | Match range to lane | Geometry decides damage uptime. |
| 13 | Move, don’t demolish | Relocation keeps the kit. |
| 14 | Stack debuffs | Multipliers scale better than raw damage. |
| 15 | Prep the boss lane | Bosses spawn far upper-left, away from the Airlock. |
Hull Rupture tips FAQ
Quick answers
Common tips questions
How do you get module kits in Hull Rupture?
Buy themed module boxes in the post-battle shop, or assign humans to the Despot’s Chamber for slow, free random kits. Sell unused kits for tokens. Demolishing a built module refunds resources but not the kit.
Read the full answer →What is the best ship in Hull Rupture?
Only the Izumo has been publicly detailed: a small, maneuverable, low-mass ship built from salvaged parts. The other two hulls are not fully revealed, so a definitive tier list is not possible yet.
Read the full answer →How long is a Hull Rupture run?
A Classic run is built around surviving 20 waves and defeating a final boss. Demo players reported runs ranging from under an hour to several hours, depending on difficulty, route and experience.
Read the full answer →Advice changes with the release build
These tips are based on the demo build current on October 30, 2026. The full release may rebalance modules, waves or shop odds. Re-check the update history after launch before treating any number as permanent.