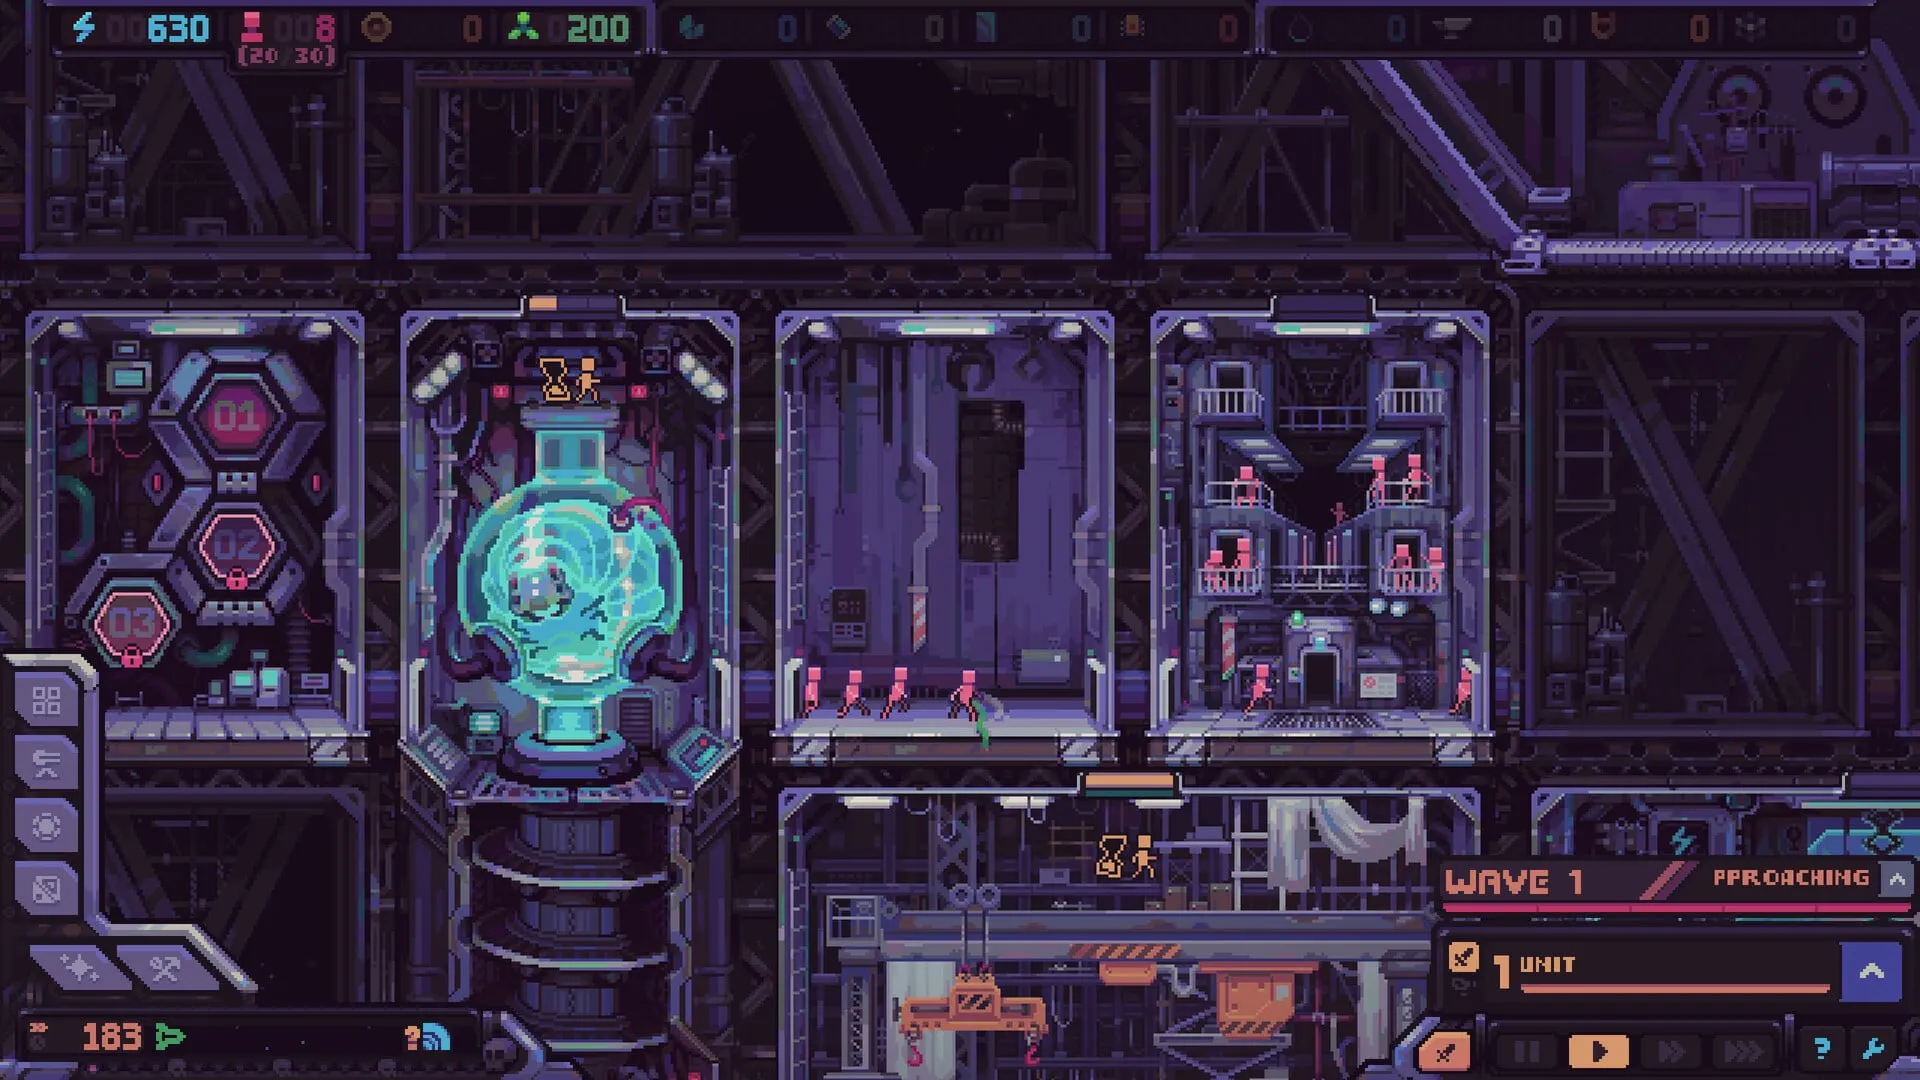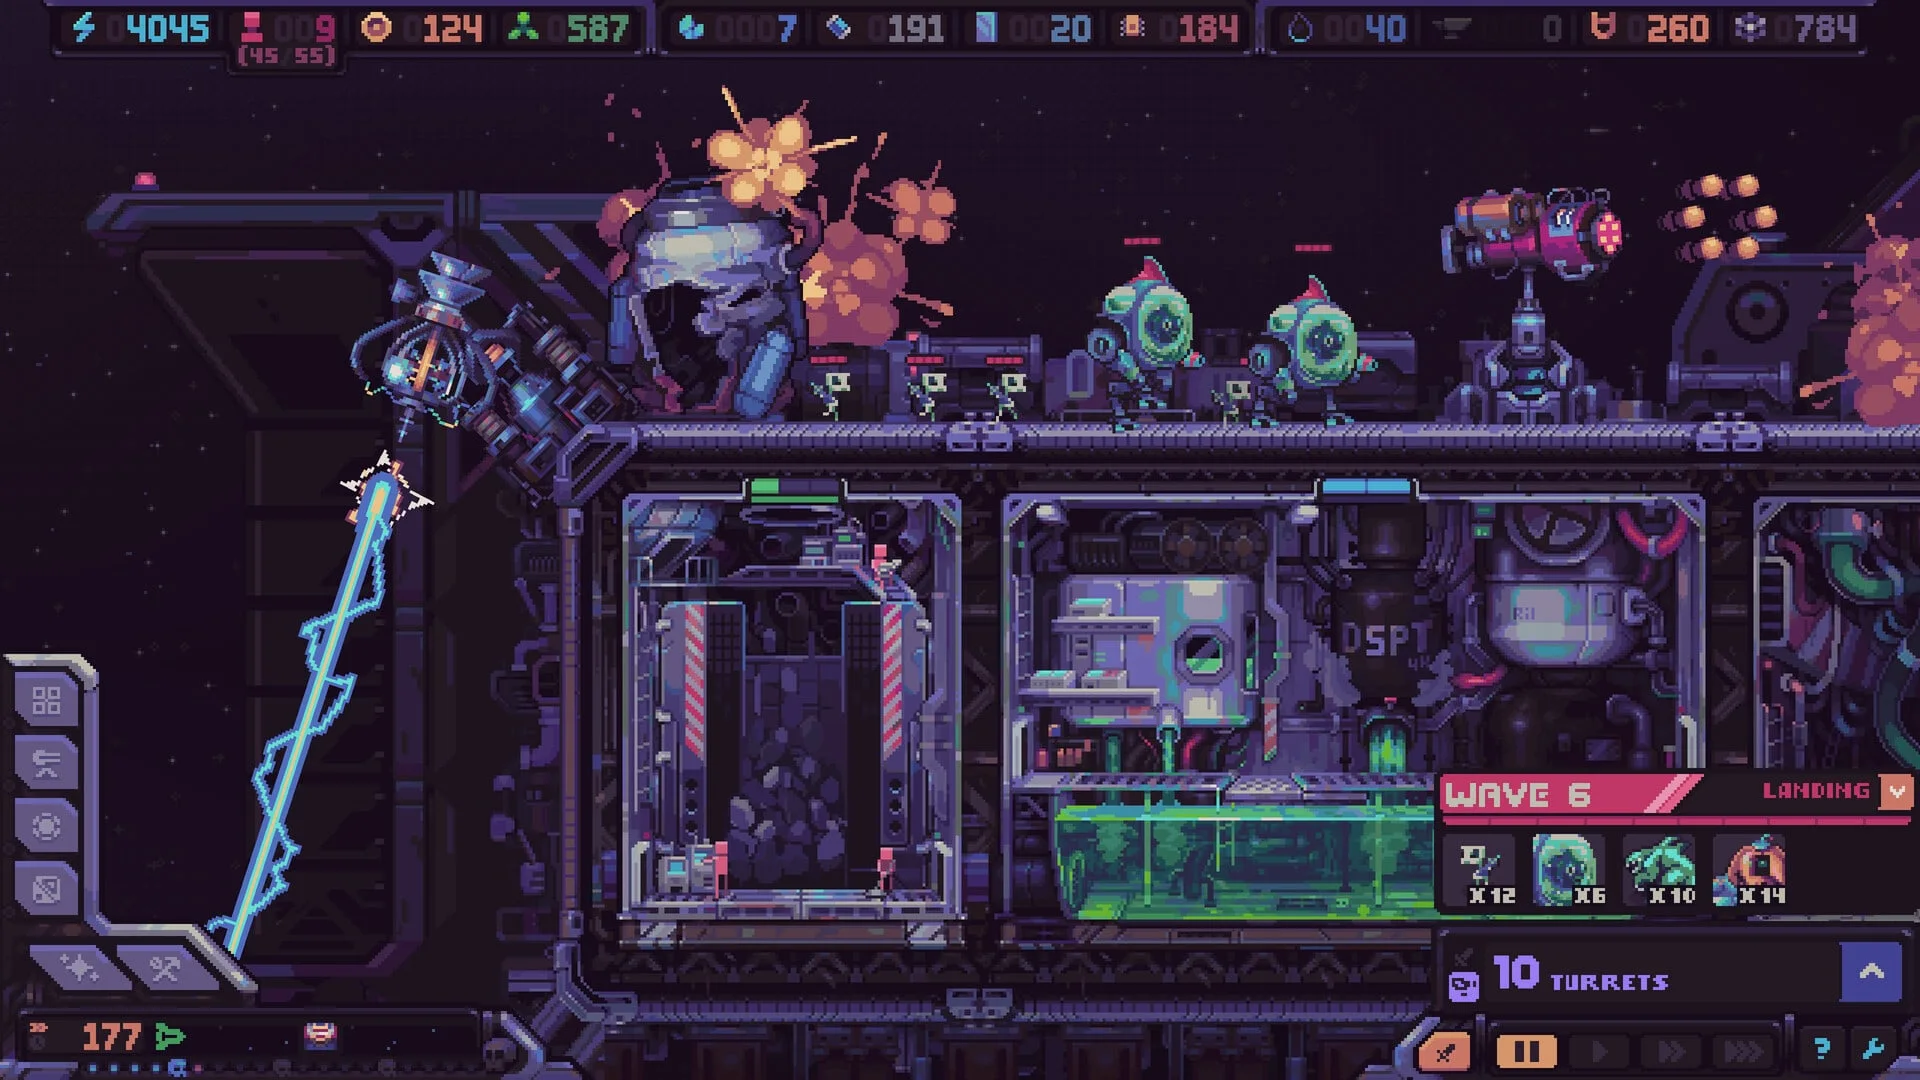
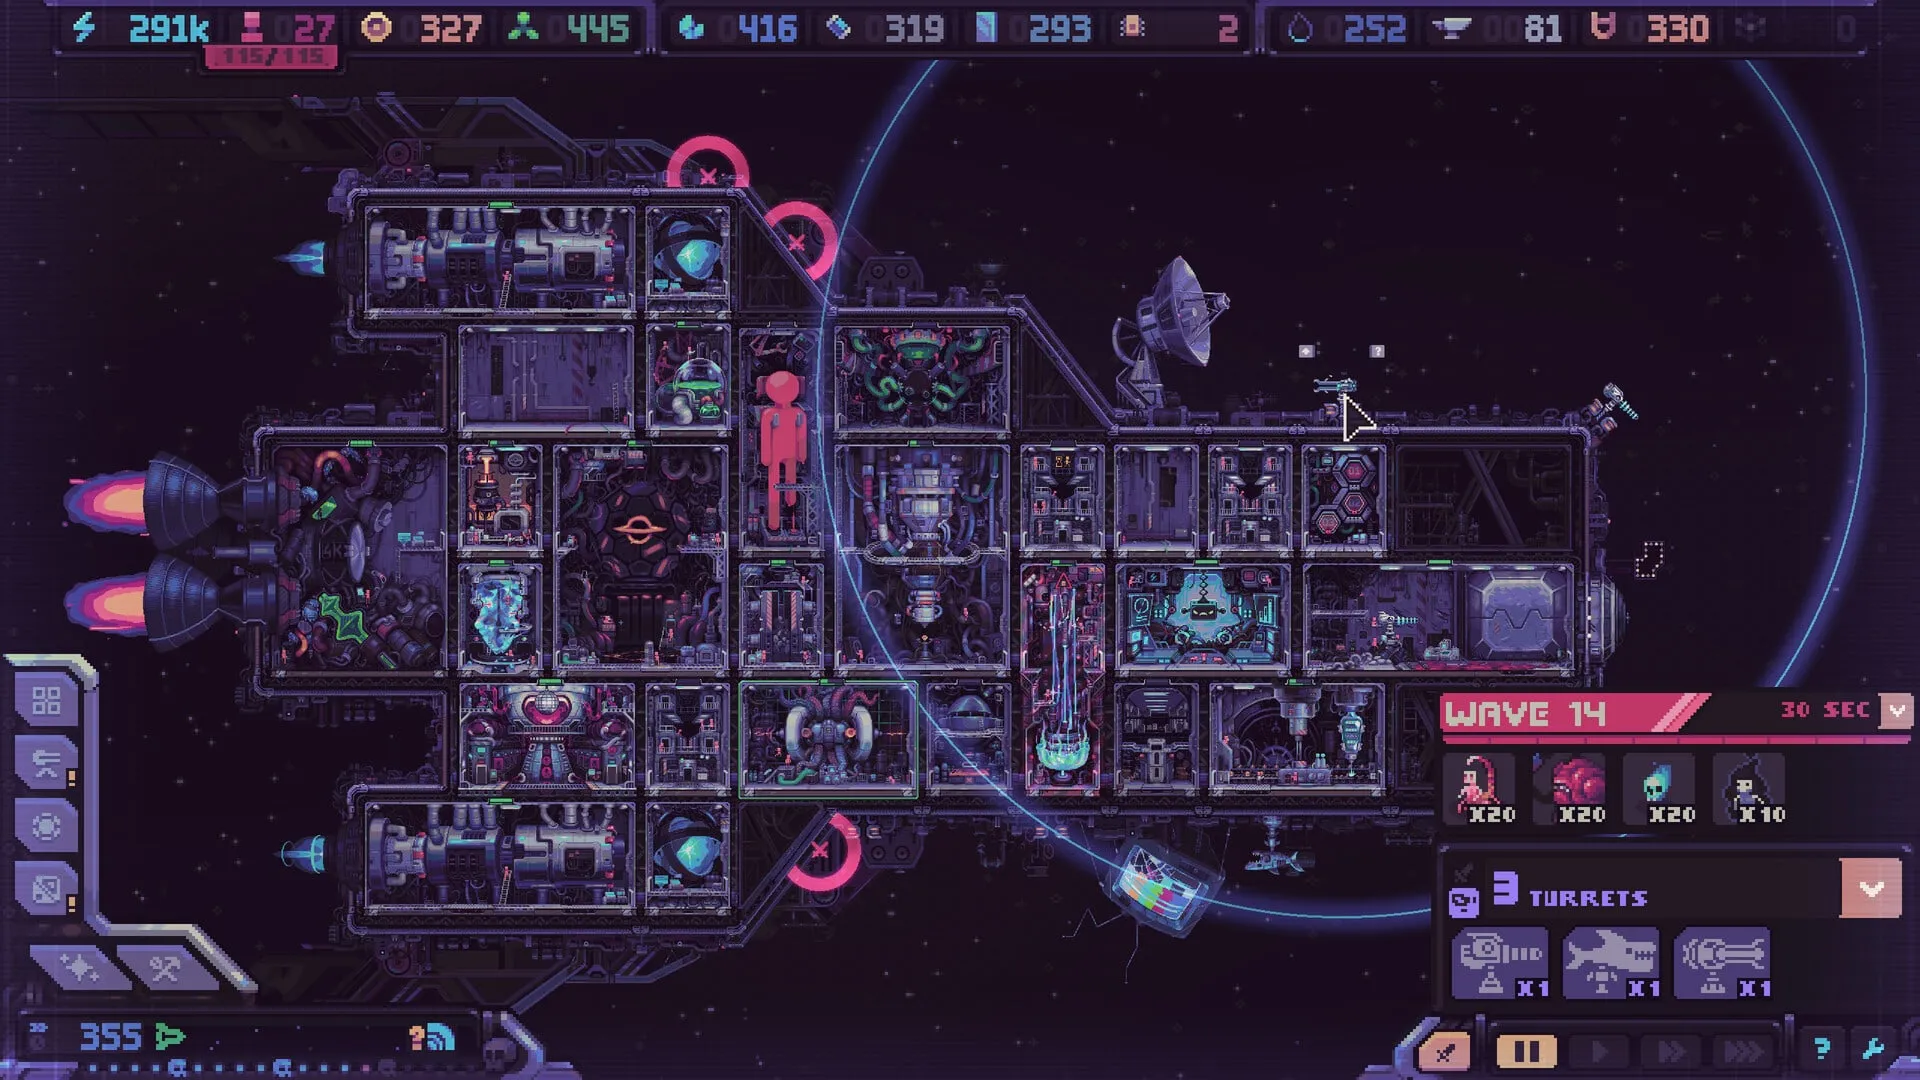
Hull Rupture turrets defend a factory that never stops working. Combat is tower defense played along the hull of a factory. Aliens land in drop pods, run toward the Airlock, and die somewhere between the breach and your crew. Your job is to make that distance as long, as exposed and as lethal as possible while the economy keeps running underneath.
How waves and breaches actually work
You know when a wave will arrive and roughly where it will breach. Drop pods land across most of the ship’s outer surface, so defense is not about guessing a single door. It is about covering multiple landing zones and the routes they feed into. The aliens run along the outer hull, through internal corridors if the layout allows, and into the Airlock.
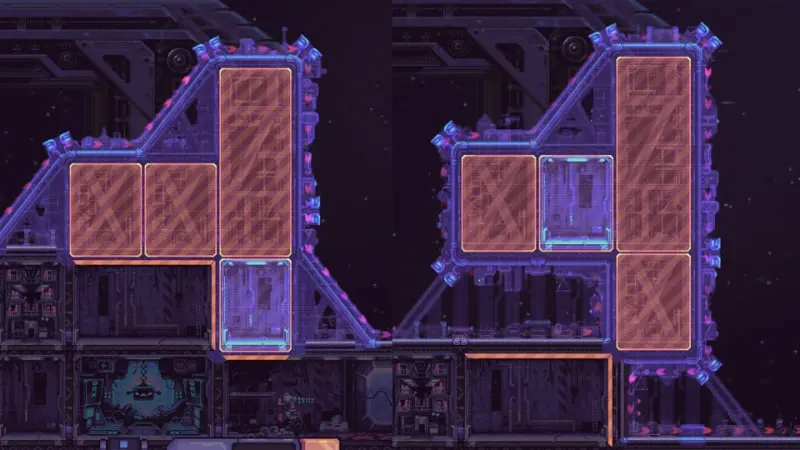
Internal corridors matter. A ship with multiple internal lanes plays more like a traditional tower-defense map with choke points and overlapping fields of fire. A ship with one long external route plays more like a shooting gallery. Neither is universally better; the layout has to match the turrets and the artifacts you actually own.
Bosses are the exception to the spread. They land at the far upper-left of the ship, furthest from the Airlock. That is a fixed lane you can prepare in advance. The final fight should feel like a trap you built, not a wave you survived.
The four defense layers
Routing
Hull shape decides how long the alien stays exposed. Offset blocks, stilts and corridors buy time.
Damage
Turrets are the primary kill source. Range, fire arc and synergy matter more than raw tier.
Control
Traps, barricades, slows and debuffs extend time in the kill zone and amplify damage.
Last line
Airlock units catch leaks. They are a safety net, not a substitute for the first three layers.
The developer’s own priority
“Turrets first. Meat shields second.” The September rebalance explicitly moved unit-based defense away from the center of the game. The Airlock is the safety net for anything that gets past your guns.
Turret roles: what each slot is for
The demo and official material show several distinct defensive roles. Exact stats vary by turret and may change at release, so use roles and geometry rather than a tier list.
| Defense | Role | Best placement |
|---|---|---|
| Gun Turret | Reliable single-target hull defense | Open stretches and general-purpose coverage |
| Long-range turret | Reaches across open hull sections and lines of fire | Exposed corners, long straight hulls and boss lanes |
| Short-range turret | High output in confined space | Enclosed gaps, corridors and tight kill boxes |
| Beam turret | Applies or benefits from debuffs such as Fragility | Synergy builds using Reproducer Eyes and damage amplification |
| Ricochet turret | Bounces projectiles through corridors | Twisting internal routes and stacked enemies |
| Rat Turret | Turns a hit enemy into a rat | Disrupting high-value targets; added in demo patch v0.10.12 |
| Rocket / explosive turret | Area damage against packs | Dense landing zones and clustered boarding parties |
| Traps & barricades | Slow, redirect or block alien routes | Extending time in the kill zone and protecting turret uptime |
| Airlock units | Fencers, Punishers and expendable defenders | Last-line emergencies; support turrets rather than replacing them |
The turret database expands each entry. The short version: a balanced defense has at least one long-range lane, one close-range punish slot and one source of control. Three of the same turret in three adjacent slots is usually worse than three roles covering the same route.
Placement by geometry
Open corners and long straight hulls
Long-range turrets want sightlines. An exposed corner can cover two approach vectors; a long straight section lets a beam or piercing shot hit multiple enemies in a line. These are premium slots. Do not waste them on a short-range turret that only reaches the first alien in the queue.
Enclosed gaps and corridors
Short-range turrets and ricochet weapons want confined space where enemies cannot spread out. A corridor clusters them into the damage cone and makes every shot count. If your hull has a twisting internal path, build the kill box there rather than trying to cover the entire outer surface.
Landing zones
Drop pods can land across most of the outer surface. Do not put every turret on one side and assume the wave will cooperate. Cover the top and bottom approaches near the Airlock, then extend coverage outward as the ship grows. The goal is a route that is covered at the start, the middle and the end.
The kill-zone pattern
A reliable pattern is slow → damage → finish. Control the edge of the route with a trap, barricade or slow effect. Put your strongest damage in the middle where enemies are bunched and exposed. Keep a short-range finisher or the Airlock crew for leaks. If a wave dies at the entrance, the back half of your defense never contributed. If it dies at the Airlock, your middle is too weak.
Debuffs and synergy: the multiplier most players skip
Raw damage scales linearly with turret count. Debuffs multiply the value of every turret already covering the lane. The developer specifically calls out slowing enemies, increasing the damage they receive, and poisoning them. Beam turrets can apply Fragility when supported by certain modifiers, such as the Reproducer’s Eyes modifier.
This changes how you evaluate a shop box. A control turret may look weaker than a big damage turret in isolation, but if it keeps enemies inside three existing kill zones for two extra seconds, it is the strongest purchase available. Check the artifact and modifier screen before buying more damage.
Fragility is a team buff
Fragility increases the damage a target takes. That means it scales with every turret firing at the same enemy, not just the one that applied it. Put the Fragility source early in the lane so the rest of the kill zone benefits.
Airlock units: the last line, not the plan
Humans can be reassigned to defensive roles such as Fencers and Punishers, and the exceptionally unqualified can serve as meatshields. These units are useful when a fast alien slips through or when a boss reaches the final room. They are not a replacement for turrets.
The September rebalance weakened unit-based defense and nerfed the Cheat Code artifact, which had made an Airlock army too efficient. A unit strategy still exists, but it is now a supplement. Build the turret kill zone first, then staff the Airlock with what you can spare. If every wave is reaching the Airlock, the answer is more coverage, not more bodies.
Moving vs demolishing turrets
Turrets can be moved for free through the turret’s info panel. The catch is time: relocation takes a long while and the turret has downtime afterward. The delay exists specifically to stop a micromanagement strategy where every turret follows a boss around the ship.
Use movement when the turret is correct but the slot is wrong. Move a weak gun out of a premium corner, reinforce a boss lane, or shift coverage after a hull expansion. Demolish only when you want the kit gone. Demolition refunds all construction resources but does not return the kit, so a “free” rebuild is still a lost module roll.
Wave-prep checklist
Before the breach
- Both top and bottom approaches are covered
- The longest lane has overlapping fire
- At least one control or debuff source is active
- No turret is mid-relocation
- The Airlock path is clear and staffed
- Ammo, power and inputs are not about to stall
- Premium corners hold long-range weapons
- Short-range guns are in enclosed kill boxes
- Boss lane has dedicated coverage
- A leak has somewhere to die
Five defense mistakes
- One-sided coverage: drop pods do not care which side you decorated.
- Premium slots, wrong range: a short-range gun on an open corner wastes its best asset.
- No control: raw damage alone struggles when waves scale.
- Airlock dependency: if the last room is doing the work, the first three layers are not.
- Rebuilding during a wave: relocation downtime can turn a survivable wave into a breach.
Hull Rupture defense FAQ
Quick answers
Defense questions
How do you defend the ship in Hull Rupture?
Use four layers: hull routing to lengthen the approach, turrets for primary damage, traps and debuffs to control the lane, and airlock units as a last line. Turrets are the main defense; crew units are a safety net.
What is the best turret in Hull Rupture?
There is no universal best turret. Long-range turrets excel on open corners and boss lanes, short-range turrets work in enclosed corridors, and debuff or control turrets multiply the value of the rest. Match the turret to the lane.
Can you move turrets in Hull Rupture?
Yes. Turrets can be moved for free, but relocation takes a long time and includes downtime afterward. Moving preserves the kit; demolishing refunds construction resources but destroys the kit.
Where do bosses land on the ship?
According to the official Hull Construction deep dive, bosses always land at the far upper-left of the ship, furthest from the Airlock. That gives you a known lane to prepare before the final fight.
Are airlock units good in Hull Rupture?
They are a useful last line, not a primary strategy. The September rebalance weakened unit-based defense and positioned turrets as the main focus. Keep the Airlock clear and staff it as a safety net.
How do debuffs help in Hull Rupture?
Debuffs such as slows, Fragility and poison multiply the effective damage of every turret covering the lane. Fragility, for example, increases the damage an enemy takes. Stacking control with damage is usually stronger than adding another raw-damage turret.
Next step
Defense starts with geometry. Read the Hull Construction guide to build longer lanes, then the enemy database to understand what is coming through them.